You can find photo location on Android by going through the EXIF (Exchangeable Image File Format) information. Simply view an image, click on the three vertical dots for options, tap on details, and find the location of where you took the photo on Android.
I don’t know about you, but I usually take photos on vacation or at events. But as time passes, it becomes difficult to remember where I took a particular photo. Do you face the same problem?
The good news is that you can find where you took an image. Follow the steps in this guide, and you will learn how to find the photo location.
Contents
4 Ways To Find Where A Photo Was Taken On An Android Device
There are many ways to find where you took a photo on your Android phone. Knowing where you took a photo can bring back some good memories. For instance, I went to Cape Town with my family, and whenever I look at the images I captured there, I go back in time to experience the same joy.
But, as you take hundreds and thousands of pictures, it can get hard to remember where you took which one. That’s where the four ways I share below come into the picture. You can find a photo’s location using these four methods and even see the location on Google Maps.
Go Through The EXIF Information
The first way to find a photo’s location is by reading the EXIF information. Short for Exchangeable Image File Format, EXIF files were first released for public use in 1995 by the Japan Electronic Industries Development Association (JEIDA). EXIF files are related to photography and store some important data from photos. This data can include the following:
- GPS location
- Time
- Date
This means that whenever you click an image, it gets stored with the date, time, and GPS coordinates embedded with it. Since EXIF data stores location data, you can use it to find photo locations on Android.
It will take you about 3 minutes
Here are the steps to follow to find the photo location:
- Open your default gallery app or the camera app.
- Tap on the image whose location tag you want to see.
- Click on the three vertical dots.
- Select “Details.”


This is where you will find different details.

You may not find the location data in the details. This can be because you don’t have the “save location tag” option enabled in the camera app. Sharing location data is a privacy issue. Hence, it is disabled by default in the camera app settings. To save the GPS tag, you must enable this from the camera settings.
Here’s how you can enable this feature. I am using a Xiaomi Mi A2 Android phone to demonstrate the steps.
- Since this feature uses GPS, the first step is to enable location services from settings.

- Open your smartphone’s camera app.
- Click on the three horizontal lines to get more options. (This may vary based on your phone’s make and model. The goal is to get the settings option).

- Tap on settings.

- Check “Save location info.” (This can again vary. You may see options like save GPS tag, location tag, geo-tag, or geo-tagging, they all mean the same).

After enabling this feature, every image you click will have the GPS coordinates embedded in it so you can then see the exact location of an image. Likewise, suppose you are worried that someone else might see your photo’s location. In this case, you can disable the option using the same steps.
Find Photo Location Data From Google Photos
You can also use the Google Photos app to find and view the location information on Google maps. The best thing about using this app is that it allows you to sort images based on location. Hence, you can see where a photo was taken and where you took the most images.
Another good thing about the Photos app is that it is also available on iPhone. The screenshots used below are from an Android phone. However, the steps are the same if you want to see GPS location on an iPhone device.
Follow these steps to find the location tag data of different images.
- Open the Photos app.
- Tap on any photo file whose GPS tag data you want to see.

- Tap on the three vertical dots in the top-right corner.

- This will show you all the EXIF data associated with the photo. You can also find the location information here, along with other details.

- You can also click on the “Open in Maps” option on the top-right side of the location tag. This will open the location on Google Maps.

This way, you can find the location of an individual image. You can also sort the pictures based on location using the Photos app. Just follow these steps:
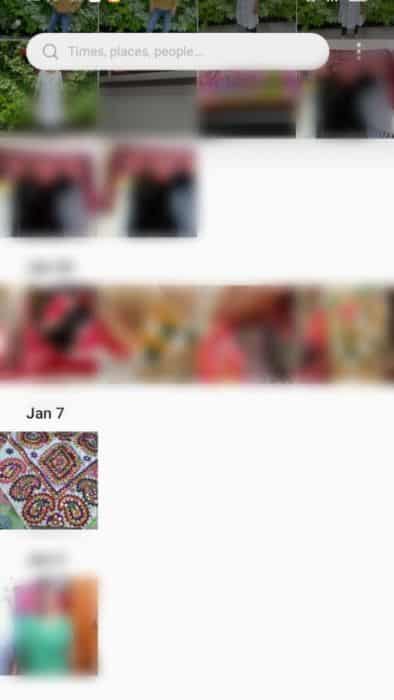
- Open the Photos app.
- Tap on search at the bottom of the screen.

- Tap on the “Your map” option under places.

- This will take you to the Google Maps UI, where you can either go through the location of each image or sort pictures based on their location tags. This will show some hot zones on the map where you have taken the most pictures.

If you are still confused, this YouTube video uploaded on the Geeks on Tour channel can be helpful. It demonstrates the use of Google Maps on the Photos app.

Using A Third-Party App
Besides the default camera and gallery app, you can also view the GPS tag of an image using third-party applications. There are many such applications that can help find the location of an image. However, these apps only work if you have enabled the location services. Hence, keep this as a last resort to find a photo location.

For this article, I have selected the GPS Photo Viewer app. When you install this app and click images while keeping the geo-tagging feature on, the photo will be saved on Android with EXIF information, including longitude and latitude details.
This app will extract the information and use it to show the photo location and other details. It will also serve as a gallery app for your smartphone.
You can also go through this YouTube video to see how to use this application.

From Facebook Posts
I have a habit of uploading my favorite images on Facebook, and these Facebook posts can help me find the location of a photo. If I want to know the GPS location of some of my photos, I can quickly go through my Facebook posts and see if I have added the photo with the location details.
Facebook allows adding or removing location tags to new or existing posts. Adding location tags to new posts is easy. All you need to do is follow these steps:
- Open the Facebook app.
- Tap on the Photo icon in the top-right corner.

- While adding an image to the post, look for the “Add Location” option and tap on it.

- Add the location and post the photo on Facebook.

You can also add a location to an existing Facebook post by following these steps:
- Open the Facebook app.
- Click on the three horizontal lines in the top-right corner.

- Tap on your name.
- Scroll down to the post on which you want to add locations and tap on the three horizontal dots in the top-right corner.

- Click on the “Edit Post” option.

- Add location and save the post.
Using these methods can show the exact location of where a photo was taken. Hence, you can also use it to track someone on Facebook by finding the location of their latest photos. If you share your location and feel someone is tracking you, you should remove your location from Facebook posts.
How To Change The Location Of A Photo
What if someone tracks your location using a spy app or a photo on your Android phone? For instance, someone can use a spy app like mSpy to monitor your social media uploads. This way, the person can get the location details embedded in your Facebook or Instagram uploads, even if he or she is not on your friend or follower list.
In this case, you cannot disable the location services, as the spy app will notify the other person. So if you cannot disable location services, what else can you do? Well, you can either send a fake location or change the location of a photo.
You can easily share fake locations on WhatsApp by selecting the “Send current location” option instead of the “Send live location” option. The difference is that the “Send current location” feature will pinpoint the specific area from where the location will be shared. This will not be updated if you change locations.
On the other hand, if you choose the “Send live location” feature, it will update the metadata with your live location as it changes. So, if you use this option, you cannot share a fake location.
While sharing a location within a chat, tap on the paperclip icon > location > and select the “Send current location” option, and you’ll also get an option to share a fake location. You can refer to this YouTube video for a visual demonstration.
Besides sharing a fake location on WhatsApp, you can also change the location of a photo in the gallery using the Google Photos app. You can follow these steps to change, edit, or remove a location from a photo.
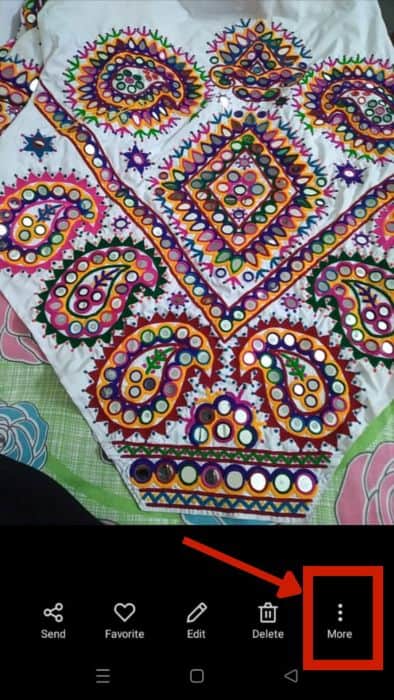
- Open the Photos app.
- Select a photo that has GPS information you want to change.
- Click on the three vertical dots.

- Scroll down to add a location if it is not already available. Click the pen icon below the map to edit or remove it if it is already available.

If the image is uploaded on the Photos app from the camera app, it will not allow you to change or remove the location.
FAQs
How Do I See The Location Of A Picture On A Samsung Phone?
You can see the location of a picture on a Samsung phone from the gallery app. Open the gallery, select the image, tap on the three vertical dots, select details, and find the location details through EXIF information.
How Do I Find Photo Details On Android?
You can find photo details on Android by selecting the image>three vertical dots>details. This will open the EXIF information, including the place where the photo was taken, time, date, etc.
Can Someone Find My Location From A Photo?
Someone can find your location from a photo if you have uploaded the photo with metadata on social media platforms like Facebook. But if you have removed metadata from the photo, finding your location will be challenging.
Is There An App That Can Identify A Location From A Picture?
There are many apps that can identify a location from a picture. Applications like GPS Photo Viewer for Android and GPS Photo for iPhone can help identify a location from a photo.
Time To Find Photo Location On Your Android Phones
I know how it feels when you can’t remember where you took a photo. It used to happen to me all the time. But if this happens to you, now you know about the EXIF information and how to access it. Follow the steps in this article to easily find the location of your photos on your Android device and enjoy your memories with ease.
I hope that this guide has been helpful and informative for you. If you enjoyed this tutorial and found it useful, please let me know in the comments below. You can also share this article with your loved ones so they can benefit from this useful information.