Ever been in a situation when you need to remove the vocals from your favorite song? This could be because you want to sing along or record your voice to an instrumental version of the song. Whatever the case is, you can do that easily by using Audacity and some other methods. Audacity is a free audio editing software that is used for audio manipulation and composing a song. You can do the same in Audacity alternatives also. In this article, we will show a stepwise process for removing vocals from a song using Audacity.
If you are looking to remove audio from a video then we’ve got you covered here.
Contents
Remove Vocals From Song: Things To Remember
Before we dive into it, you should keep few things in mind. This method does not work properly with every song, but for the majority of the songs, it does work. Anything recorded in stereo will be still audible to you. This is because only vocals that are purely mono are removed by this process. You might also lose bass at some instances as the bass is also mono. The other important thing to take care is if you are going to isolate vocals from a song that you don’t own then it should be for your personal use only like karaoke or for using it in a personal video.
Using Vocal Remover Effect on Audacity
It is a very easy and time-saving method. Make sure you are using Audacity 2.2.0 or later version for this method. It is done by applying vocal remover effect on your music file and these are the steps you need to follow:
1. Once you have launched the software on your PC go to File and then select Open. Alternatively, you can press the shortcut keys Ctrl+O.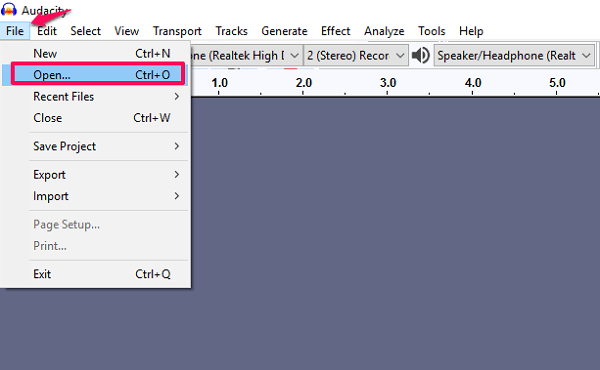
2. Browse the file explorer and locate the audio file that you want vocals removed from. Select one or more audio files from it and click OK. You can also just drag and drop a file to Audacity and avoid these steps. 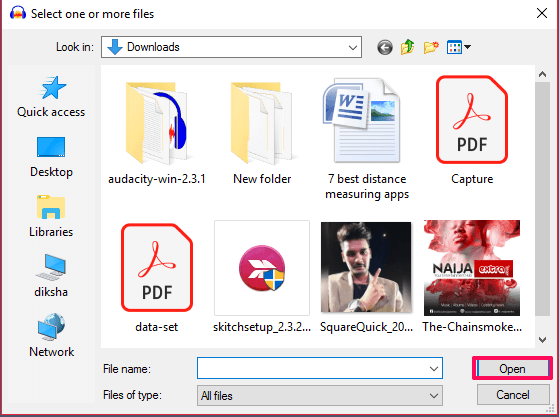
3. Hit Space Bar to listen the audio loaded into Audacity. It is a good practice to determine vocal notes in audio before converting it.
4. After that, select the whole track by clicking on the blank space on left or by pressing Ctrl+A.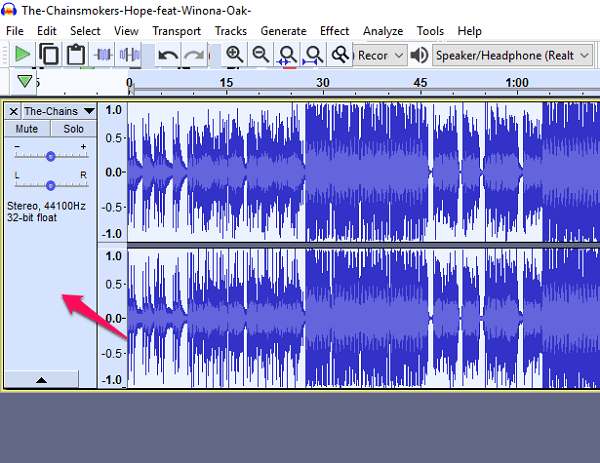
5. Now go to Effect from the top menu and choose Vocal Remover from the list.
6. After choosing it you will have the option to choose between Simple, Remove frequency band and Retain frequency band. We would recommend you to go with Simple but you can preview all the options and choose accordingly and press OK.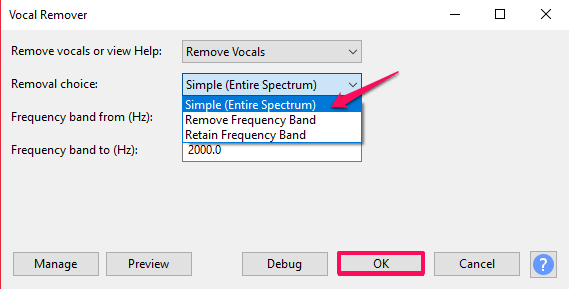
Note: You can always undo settings by pressing Ctrl+Z in case you applied the wrong option.
7. You will now see the difference in waveforms and hear the audio without vocals. Go ahead and save the audio by going to File>Export Audio.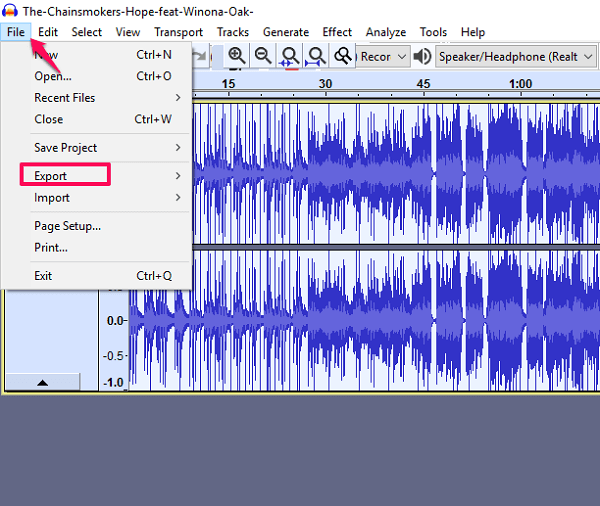
Using this method the quality might not be as good as you expected as I have mentioned earlier. It is impossible to isolate 100% vocals from an audio file. But you can try some alternative methods given below to get better results.
Also Read: Best Volume Control And Booster Apps
By Splitting Stereo Tracks on Audacity
You can also do it by splitting stereo tracks to break the channels into two separate tracks and invert one of them. This is a little complicated method and here’s how you will be able to do it on Audacity.
1. Repeat the first same earlier methods for loading an audio file into Audacity.
2. Go to the left side of the file and click on the drop-down arrow next to the song name. Select the option “Split Stereo Track” from the list. You will have two separate tracks that will play independently.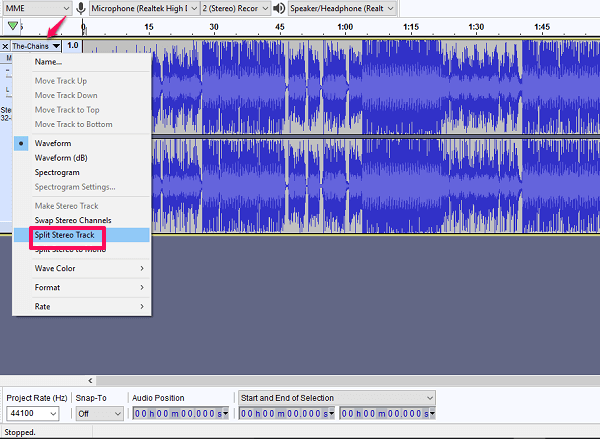 3. Select the bottom track by clicking on the left side blank space. You will know that it is selected once the bottom track changes color.
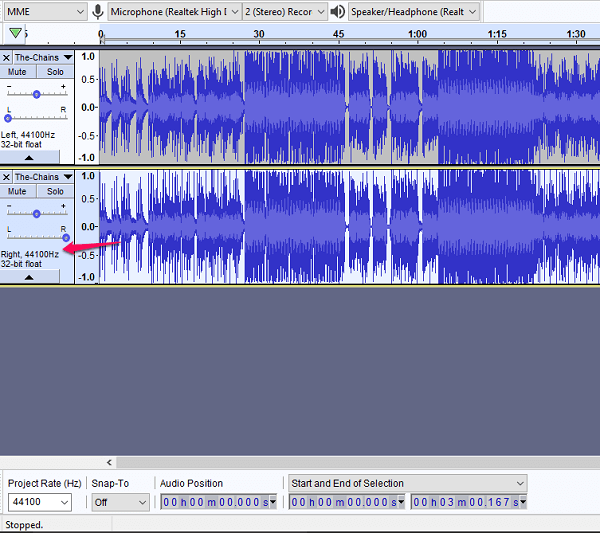
4. After that go to Effect and select Invert, this will invert the bottom track.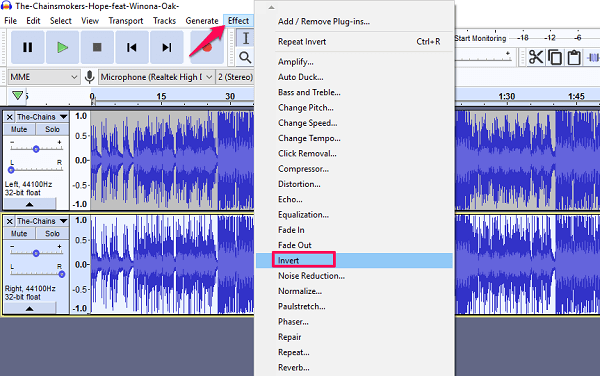
5. Now for each of the track, click on the drop-down arrow and select Mono. This will route both the audio through a single channel instead of two separate left and right channel.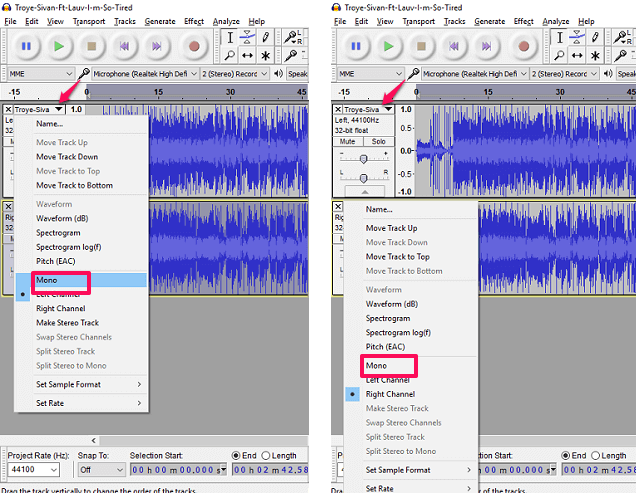
6. Lastly, play the song to make sure your vocals are removed and export it using the same method mentioned earlier.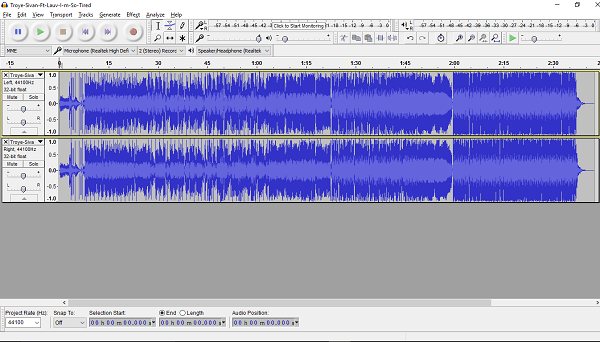
Other Options
If you are not satisfied by this or want to try out other options that are out there then try out free online tool Vocal Remover Pro that is dedicated to vocal removal only. This is a simple tool where you can upload your audio file or paste a YouTube link and download the converted one. This online tool also has a downloadable version that is supported for Windows OS. It is a paid software like any such software, that retails for $19.95. They claim that it has superior sound quality than their online tool and also give a one-month free subscription.
As a substitute, you can also try out a convenient approach that is downloading SingPlay app on your mobile devices. It lets you convert all your songs on your device into Karaoke. It is available for Android devices for free.
Conclusion
In our opinion, both methods give the same result on Audacity. The results may differ for different songs, but for some songs, it is not possible to remove vocals completely. One method or other, you will successfully remove the vocals from your audio file if you try them out. Using them as a method to create your own song or for a YouTube video won’t be appropriate or legal for that matter. But if you want to use it for commercial profit, then you need to seek permission from the artist first. If this article helped you out, then please mention it below in the comments and ask for any guidance if needed.