This article is sponsored by MiniTool MovieMaker. Even though sponsored, the complete content and opinions are sole views of the author based on their experience with the app.
After watching the videos on YouTube and Instagram, do you wonder how people have such great editing skills? And you must have an image in mind that people spend hundreds of dollars on editing and on purchasing the video editing software.
For some of the cases, it might be true, but in most cases, it’s not.
There are many amazing software in the market that provide video editing tools, transitions, trimming options, and other effects. And today we are going to do the MiniTool movie maker review, an app that claims to be an amazing video editing product. But we will reveal in our review if the app is really worth using or not.
MiniTool Movie Maker Review
So, let’s start with the review of MiniTool MovieMaker and understand each and everything related to the software in detail.
System Requirements
The software has some basic requirements that most of the Windows PCs comply with.
MiniTool MovieMaker supports the old Windows versions like Windows 7, along with new versions like Windows 8.1 and 10.
The CPU requirements of the software are Intel i5 or higher, with processor 2GHz+. But the video maker recommends Intel 6th Gen or newer versions.
RAM requirements of the software are 8GB and the GPU requirements are Intel HD Graphics 5000 or other upgraded ones. Other GPU requirements are NVIDIA GeForce GTX 700 or above, AMD Radeon R5, or above.
Installation And Setup
MiniTool MovieMaker is really easy to install and setup on your Windows system.
Just, use the given steps, download for free, and the software is right there on your system:
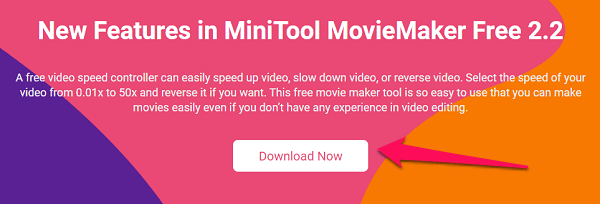
1. Head to the official site of MiniTool MovieMaker and click on Download Now option to download the software setup.
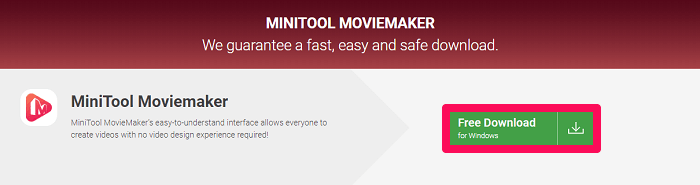
2. Confirm the download by clicking on Free Download, in the next step.
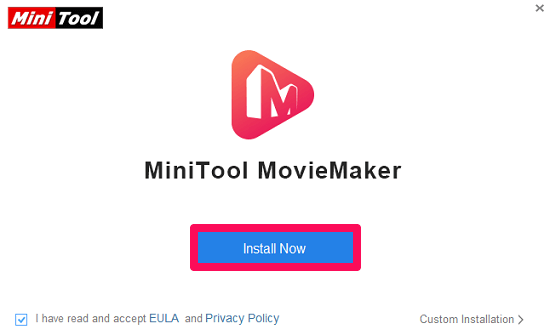
3. Now that you have the setup, double-click it and then click on Install now option for successfully getting the app on your device.
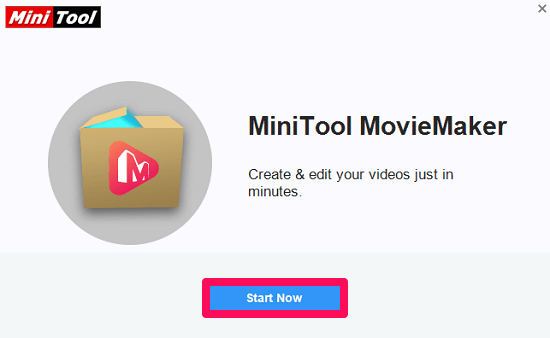
4. Click On Start Now once the installation is done.
The installation and setup process for MiniTool MovieMaker is complete.
Now it can be used to edit the videos by taking the help of transitions, effects, and other features.
App Interface And How To Use It
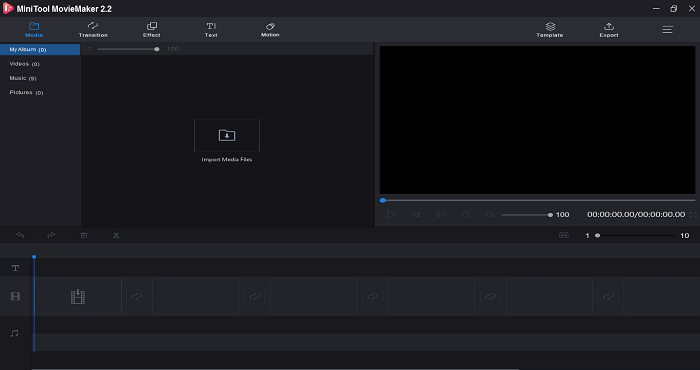
You will witness various tools and features once you open the app to edit your photos and videos to make a complete movie.
If you haven’t used any video editing tool before then the interface of the app might panic you a little. But we assure you that using the app is as easy as a pie.
Transitions And Other Effects
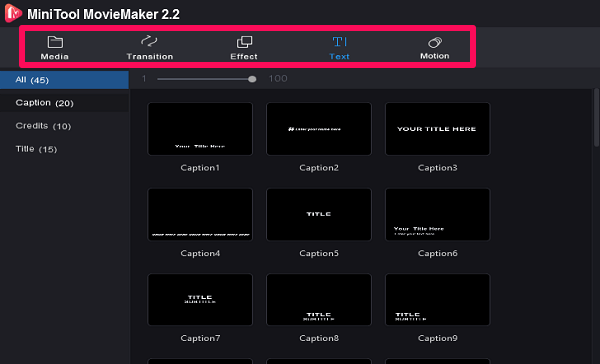
At the top, you can see the section for Media, Transaction, Effect, Text, and Motion. As the name suggests, using the media feature you can upload the videos, photos, gifs which will be needed to make the final video.
The Transition feature contains all the transition effects like cloud, blind, burn, chessboard, clock, and more.
Similarly, the Effects option contains the color variation that you can use to make your movie more impactful.
As for the Text section, it contains the various text variations and you can go for the one that suits your video the most.
The Motion feature will help you provide a movement to the still photos or text. It can be used in the videos as well.
Preview Screen
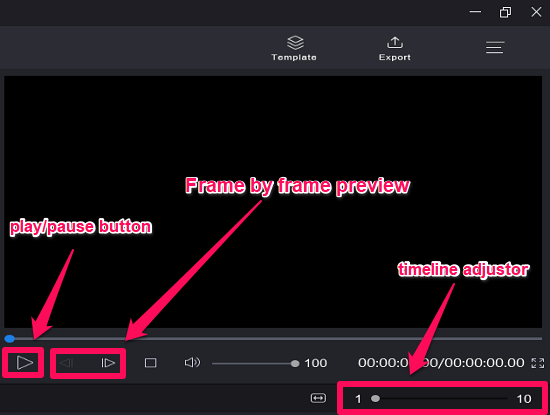
Everything you have edited so far can be seen on the preview screen. It shows your complete progress in the form of video.
You can use the Play/Pause button and similarly use the Stop button according to your need. Buttons adjacent to the play and pause allows you to check the video frame by frame.
Zoom in/out of the timeline at the bottom by using the Timeline adjustor.
Redo or undo the files with the buttons at the extreme left of the timeline adjustor, and use the Delete icon to get rid of the unwanted part.
Timeline
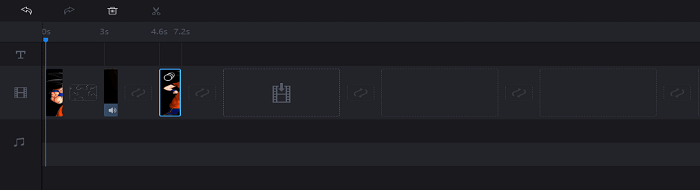
All the editing part has to be done right here in the Timeline part of MiniTool MovieMaker.
You have to drag and drop the media files from the media section that you want in your video. Along with that, the effects and transitions also need to be dragged and dropped on or between the media to make a classy movie.
You need to drag and drop the videos, photos, and other viewable media in the video section. Similarly the audio files in the audio section, and the text that you make in the software will go in the Text section.
Saving And Export Option
Finally, when your video is complete, use the export option at the top-right to save the final video to your device.
While making your movie, don’t forget to save your progress in between.
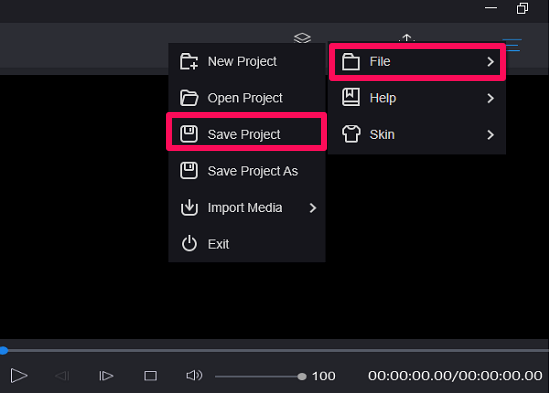
Use the Hamburger icon at the top-right corner, click on the File, and then click on Save Project to secure your current progress in the project. Similarly, use the same option to start a new project, open the old one, or exit the software as well.
Watch this video, showing various videos made with MiniTool MovieMaker. This video will further help you understand the working of the software.
Wrapping Up
MiniTool movie maker is a video editing software, that should be your choice, especially when you are new to the editing world.
And not to forget, the software is completely free for use, making it a compatible product for amateurs. if you are a professional, you will probably find it lacking of features. That’s the reason why it did not make it to our list of the best video editing software.
Our MiniTool movie maker review is enough to tell that you should go for the software. But you should keep one thing in mind that the software might face some glitches while you’re working on a project. So don’t forget to save the current progress in between.
If you have some other doubts related to the product in mind, feel free to leave your question in the comment section below.
MiniTool MovieMaker

Pros
- Free of cost
- Software is really easy to install
- Perfect for beginners and starters
- Plenty of options available in effects and transitions
Cons
- You might face some glitch while editing
- Not good for skilled video editors
Is there a limit of the number of photos you can put onto one presentation? I was hoping to compile 265 photos of Copenhagen in one go! Also is there a facility to enable you to burn the end product onto a DVD-R?